US Student Visa 2027: Requirements, F-1 Visa Process, Fees & Interview Tips
Over a million international students are sitting in US classrooms right now, and every single one of them cleared the same five-step F-1 visa process you’re about to start. Most rejections come down to a missed step or an unconvincing interview, not bad luck or bad paperwork. Here’s exactly what the US student visa 2027 process involves, including the parts most guides leave out.

Who needs an F-1 visa?
Any student admitted to a full-time academic program at a school certified by the Student and Exchange Visitor Program (SEVP) needs an F-1. This covers undergraduate degrees, master’s programs, PhDs, and most language-training courses. It does not cover part-time study, most short courses under 18 hours a week, or programs at schools without SEVP certification, so confirm your school’s status through the Study in the States school search before anything else. Once you’ve shortlisted a few SEVP-certified options, compare their programs and estimated costs on EduAtlasHub.

Every F-1 application follows the same sequence, whether you’re headed to a two-year college or a PhD program. Miss the order and you’ll hit delays, so work through these in sequence rather than jumping ahead.
Step 1: Get your I-20 from your school
Once you accept an offer, your school’s international office issues Form I-20, the Certificate of Eligibility for Nonimmigrant Student Status. It carries your SEVIS ID (starting with N), your program details, and your estimated costs for the year. Every document you file afterward has to match this one exactly, so check it carefully the moment it arrives. A misspelled name or wrong program date here creates problems all the way through to your interview.
Step 2: Pay the SEVIS I-901 fee
Before you can book an interview, you pay the SEVIS fee at fmjfee.com. As of mid-2026, this fee is $350 for F-1 students. Pay it using your SEVIS ID and school information exactly as they appear on your I-20, and keep the receipt. You’ll be asked for it at the embassy, and a lost receipt means a delay you don’t want this close to your intake date.
Step 3: Complete the DS-160
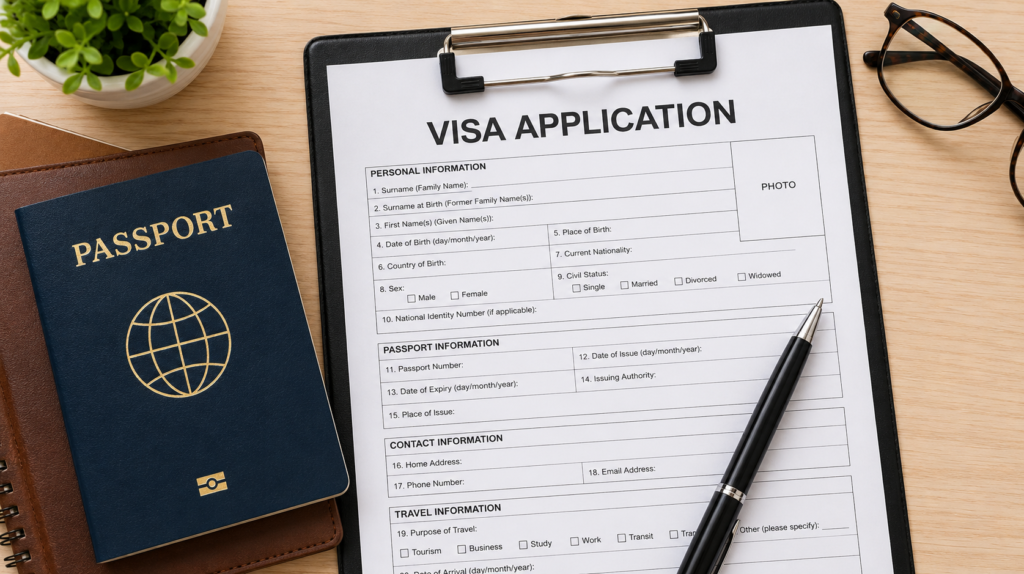
The DS-160 is the standard online application for any US non-immigrant visa. Fill it in carefully. Your program name, dates, and school details need to match your I-20 exactly. Small mismatches are one of the most common reasons interviews go badly. Once submitted, save the confirmation page with its barcode. You’ll need to print it for your appointment.
Step 4: Pay the visa application fee
The Machine Readable Visa fee is $185, paid separately from the SEVIS fee. Combined, budget around $535 in government fees alone before you’ve paid for anything else like flights or the SEVP institution’s own charges.
There’s also a $250 “Visa Integrity Fee” that US law created in 2025. As of mid-2026 it hasn’t started being collected, since the rules for how to implement it haven’t been published yet. This is worth watching closely if you’re applying closer to your 2027 intake, since it could change before then. Check the current fee schedule on travel.state.gov directly rather than relying on a fixed number from any guide, this one included.
Step 5: Attend your visa interview
Book your appointment as early as your embassy allows, ideally as soon as your DS-160 and SEVIS payment are done. You can apply up to 120 days before your program start date, though you can’t actually enter the US more than 30 days before classes begin.
Bring to the interview:
- Valid passport (with at least six months’ validity beyond your intended stay)
- I-20 and SEVIS receipt
- DS-160 confirmation page
- Proof of funds: personal or sponsor bank statements from the last 3–6 months, covering tuition and living costs
- Academic transcripts and test scores
The interview itself is short, usually a few minutes. The consular officer is checking two things: that you have a genuine academic plan, and that you intend to return home once your program ends. Answer directly, know your program and school details cold, and don’t over-explain.
Why F-1 applications actually get refused?

Most guides list documents and stop there. The real reason applications fail is Section 214(b) of the Immigration and Nationality Act. The officer isn’t convinced you intend to return home after your program. It’s rarely about missing paperwork. It’s about the story your paperwork and your answers tell together. A few patterns commonly trigger a 214(b) refusal.
Vague answers about your program or career plan
If you can’t explain why this specific course, at this specific school, fits your background, that reads as uncertainty rather than a real plan. Name your program, your reason for choosing it, and what comes after it in one breath.
Financial proof that doesn’t match your story
A sudden large deposit right before the interview looks staged, even when the money is entirely legitimate. Funds that build up steadily over several months look real and rarely raise a flag.
Weak or undemonstrated ties to your home country
Family, a job offer waiting for you, property, or a clearly defined return plan all help. You don’t need to over-explain this. You do need something concrete to point to if asked directly.
Inconsistent details across your forms and answers
Even small mismatches, like a program name typed slightly differently on two forms or a date that doesn’t line up, create doubt. The officer has only a few minutes to decide.
None of this means lying or rehearsing a script. Your actual plan needs to be clear enough that you can state it in one or two sentences without hesitating, because that’s roughly all the time you’ll get.
What changed for 2026 intakes, and why it still matters for 2027
A few rule changes are worth understanding before you apply, since they carry into your 2027 timeline even though they took effect in 2026.

From September 2026, F-1 status moved to a fixed-admission model. The date printed on your Form I-94 now controls exactly how long you’re authorized to stay in the US, replacing the older, more open-ended “duration of status” approach. This doesn’t mean every F-1 student automatically gets a fixed number of years; the exact period depends on your program and circumstances, so check current DHS guidance and ask your school’s Designated School Official (DSO) how it applies to you specifically.
English-language training programs are now generally capped at 24 months in total, including breaks and vacations. If you’ve previously studied English or are planning to combine different programs, ask your DSO how your time will be counted before you build your academic timeline around it.
Working while on an F-1 visa
F-1 students can work up to 20 hours a week on campus during term time, and full-time during official school breaks. Off-campus work needs separate authorization: Curricular Practical Training (CPT), which must be approved by your DSO on your I-20 before you begin, or Optional Practical Training (OPT), which requires both a DSO recommendation and separate USCIS approval. Working off-campus without this authorization, even informally, is treated as a status violation.

Country-specific processing realities
Interview wait times and 214(b) refusal rates vary significantly by country and even by which embassy or consulate you’re assigned to, not just by season. If your home country has a high-demand consulate, book your interview slot the moment your I-20 and SEVIS payment are ready rather than waiting for what feels like a quieter time, since slots fill up fastest exactly when everyone else has the same idea.

Dual nationals should also confirm which passport their assigned embassy expects them to apply under, since current visa-issuance restrictions in 2026 apply differently depending on the passport used and the applicant’s nationality. Admission to a school and payment of every fee does not override an active issuance suspension for a given nationality, so check the Department of State’s current visa news for your country before you assume the standard process applies to you.
How long does the whole process take?
Processing time depends heavily on your country and the time of year, sometimes more than on anything in your own application. Peak intake seasons, particularly the run-up to a fall semester start, mean longer waits for interview slots at almost every embassy. Apply the moment your I-20 is in hand rather than waiting until closer to your program start date, since the 120-day window exists precisely because processing isn’t instant anywhere.
Frequently Asked Questions (FAQ)
Budget roughly $535: $185 for the MRV visa fee and $350 for the SEVIS I-901 fee. This doesn’t include the potential $250 Visa Integrity Fee, which wasn’t yet being collected as of mid-2026, or any fees your school itself charges.
No. You need your I-20 from an SEVP-certified school first, and that only comes after you formally accept an offer.
Up to 120 days before the program start date listed on your I-20, though you still can’t enter the US more than 30 days before classes begin.
The SEVIS fee ($350) funds the system that tracks international students and is paid before you book your interview. The MRV fee ($185) is the actual visa application fee, paid separately at a different stage.
Section 214(b), meaning the officer wasn’t convinced you intend to return home after your studies. It’s a judgment call based on your whole application and interview, not a checklist of missing documents.
Rules and fees are current as of mid-2026 and may change before your 2027 application. Always confirm the latest figures at travel.state.gov before you pay anything, and check with your school’s international office for the most current guidance specific to your situation.
Ready to shortlist schools? Compare universities with confirmed SEVP certification and estimated program costs side by side on EduAtlasHub.